Phones are convenient for taking photos but they don’t take great pictures of your computer screen. Let us show you how to take screenshots of your screen without your phone…
Our business is fixing problems for our customers. We find it’s often necessary to request screenshots of our customers computer screen so we can see what they are seeing. We typically receive screenshots taken using a smartphone and the quality is often poor because the photos were taken indoors using artificial lighting.
Introducing your computer
Today we’re going to explore how to take screenshots of your Windows computer using the inbuilt screen capture functionality that all computers possess. If you’re looking for instructions for Apples OSX, check out “How to take screenshots on your Apple Mac”.
The Windows Snipping Tool expands on the standard Windows Screenshot functionality.
Windows has a few options available for users who wish to take screenshots of their screen. The most basic method involves the use of the [Print Screen] button which is sufficient for many users. Since Windows Vista, the “Snipping” tool has provided an alternative and more flexible approach.
How to capture a full screen screenshot on Windows
You can capture a full screen by pressing your [Print Screen] button. It may appear that nothing has happened however Windows has captured the Screen to your clipboard. You can now paste ( [Control]+[V]) the image into a graphic editor of your choice.
How to take a screenshot of a Window on Windows
You can capture a screenshot of a Window by holding down [Alt] and pressing [Print Screen]. Once again, the screenshot has been saved to the clipboard for you to paste into a graphic editor.
How to take a screenshot of a section of your Windows screen
Capturing a section of your screen requires the use of the Snipping tool, a Windows utility which was first released in Windows Vista back in 2007.
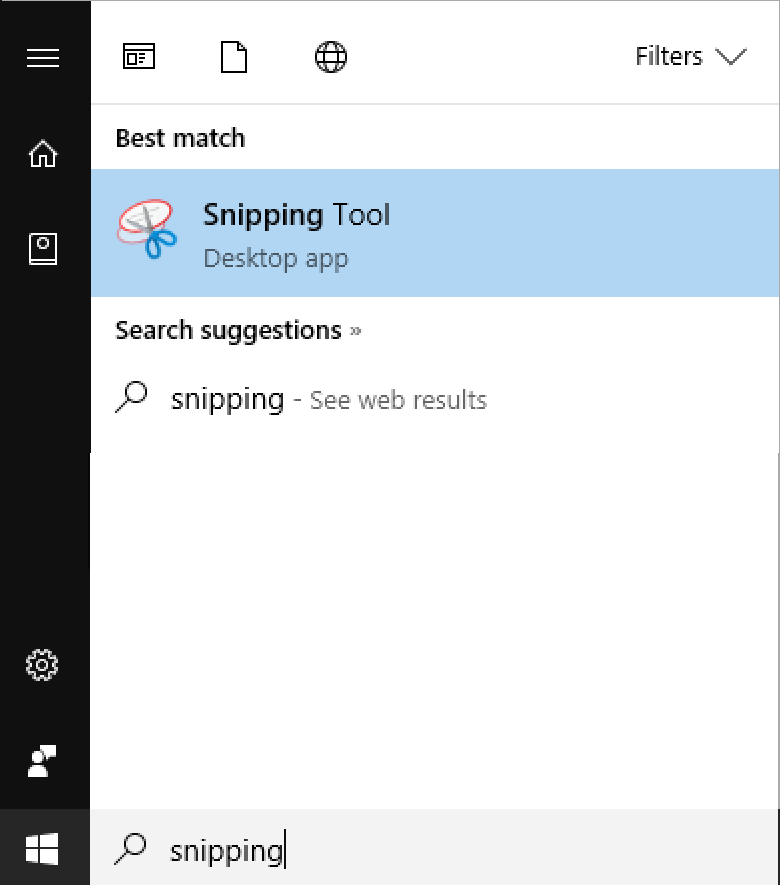
Enter Snipping into the Windows Search Bar to bring up the Snipping tool
- To start the Snipping tool, go to your Start menu and type Snipping into the Windows Search field.
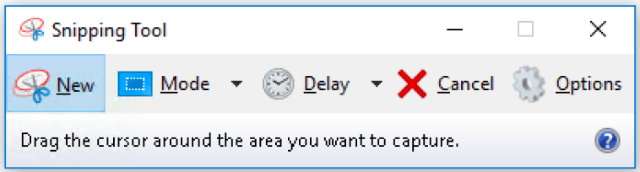
- Select the Snipping tool and you’ll be presented with the following user interface.
- Ensure that the Mode is set to Rectangular and click New.
- The screen will take on a whitened look. Click and drag the mouse over the region that you want to capture.
- Release the mouse button and the Snipping tool will capture the selection and expose it in the Snipping editor. You’ll be able to manipulate the image or apply markup within this editor, however, the functionality is so limited that it’s not worth bothering. My recommendation would be to use another graphic editor if you want to apply markup.
- Select File -> Save As and select the type of image file you want to save as. Generally speaking, jpg is best for photographic images while png is best for computer generated images.
- Save your image to a folder location of your choosing.
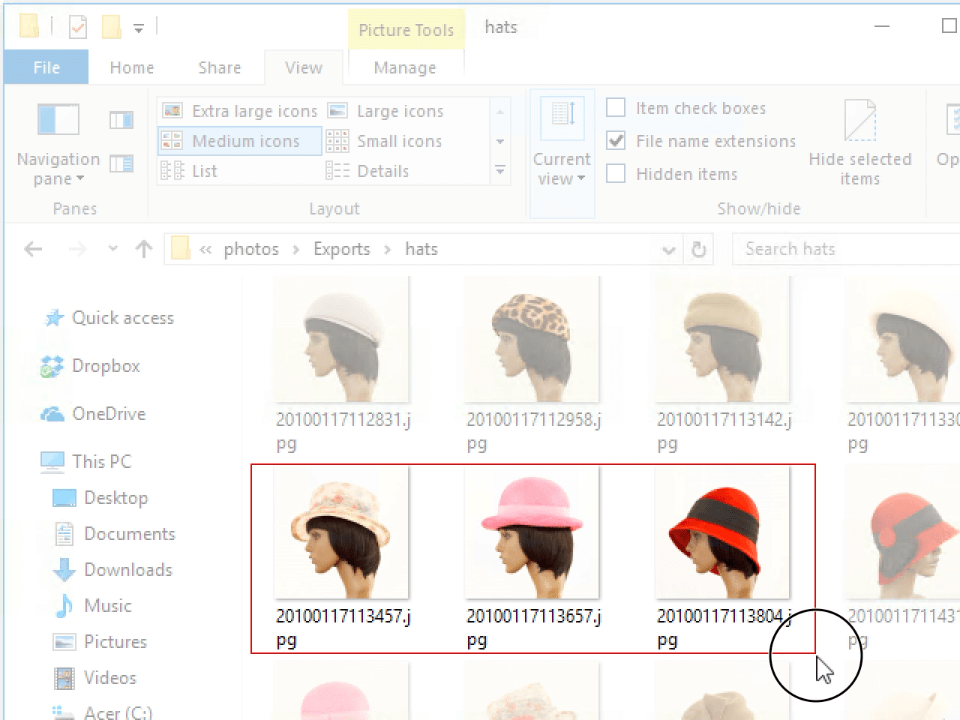
Click and Drag your pointer to select the section of the screen you want to capture
I’m not a big fan of the Snipping tool but it’s free and available on all Windows computers. If you’re confined to using a Windows computer, I’d suggest using the Window screen capture method and edit the image further in a graphic editor. Alternatively, if like myself you have both Windows and Macs, you may choose to remote desktop onto your Windows computer and make use of the Mac functionality instead.